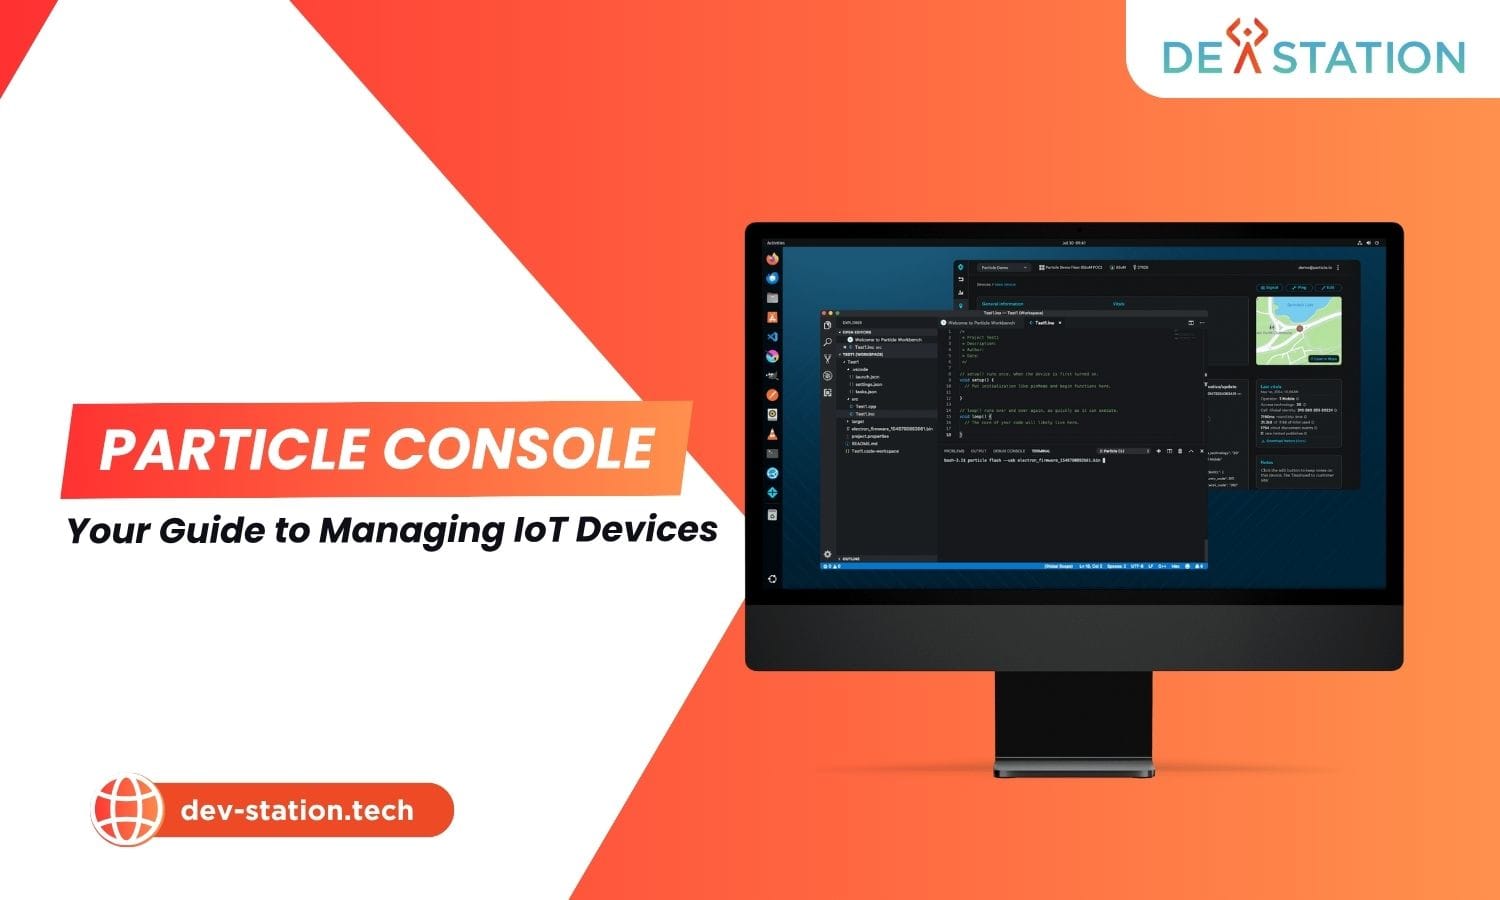
The Particle Console is a web-based dashboard for managing Particle IoT devices, claim devices, stream real-time events, push over-the-air firmware updates, run diagnostics, and configure cloud integrations. It ships free with every Particle account; you only pay for the cellular or Wi-Fi connectivity your devices consume. This guide walks through what it is, key features, how to use it, pricing, a comparison with alternatives, and actionable next steps.
The Particle Console is the integrated, web-based command center for the Particle platform. A full-stack IoT solution combining hardware (microcontrollers like the Boron, Argon, B-Series SoM, and Photon 2), a global connectivity SIM, and a device cloud. The Console is the human-facing dashboard that sits on top of that cloud, giving you a single pane of glass for every device in your fleet, whether you have one prototype on your desk or 50,000 units deployed across five continents.
Think of it as the bridge between your physical hardware and your cloud application. From the Console you can see which devices are online, what firmware they’re running, what events they’re publishing, and whether their cellular signal is healthy, all without writing a line of server code. For teams that grew up wrestling with bespoke device-management backends, the Console replaces that custom infrastructure with a maintained, documented product.
At its core the Console exposes five pillars of device management: provisioning (claiming and grouping devices), visibility (live event streams and variable polling), control (remote function calls and OTA product firmware releases), diagnostics (health metrics, logs, and vitals), and integration (webhooks, Google Cloud, Azure, AWS routing). Everything else in the Console (organizations, products, teams, billing) is scaffolding around those five pillars.
The Console’s feature set maps directly to the lifecycle of an IoT device: get it online, keep it updated, watch it, fix it, and connect its data to the rest of your stack. Here’s what each capability does and when you’ll reach for it.
Device Claiming & Provisioning
Claim a device to an account or add it to a product fleet. The Console generates the Device ID and lets you assign devices to products, teams, and customer scopes so the right people see the right hardware.
Real-Time Event Stream
A live, filterable event log shows every Particle.publish() event flowing through your fleet in real time. Filter by event name, device, or scope, perfect for debugging on the bench or monitoring production traffic.
Over-the-Air (OTA) Firmware Updates
Upload a compiled binary, mark it as a product firmware release, and the Console distributes it to every device in the fleet, or a targeted subset. Locked, flaky, or offline devices re-download automatically when they reconnect.
Variables & Functions
Expose device-side variables (Particle.variable()) and functions (Particle.function()) and read or invoke them from the Console. No SSH, no serial cable, just a web form that talks to your hardware.
Diagnostics & Vitals
Per-device vitals (signal strength (RSSI), connection state, battery, and cloud round-trip time) surface in a timeline. When a device goes silent, the diagnostics tab tells you whether it’s a power, network, or firmware issue before you roll a truck.
Cloud Integrations
Route events to webhooks, AWS IoT, Azure IoT Hub, Google Cloud IoT, or MQTT with a few clicks. The Console’s integration builder handles payload shaping and retries so your device data lands where your app expects it.
Organizations, Teams & Roles
Organizations group products; teams hold members with role-based access (viewer, developer, admin). Simulate the real org chart so contractors see only their project and operators can’t push firmware.
Product & Release Management
Define a product, group its devices, and ship firmware in versioned releases with locked/opened up targeting. Roll back a bad release in seconds by promoting a previous version, every device downgrades on its next handshake.
Getting from an unboxed Particle board to a managed fleet takes about ten minutes. These steps assume you’ve already created a free Particle account and have a device (e.g., a Boron 404x or Photon 2) on your desk.
Create or Open Your Console
Log in at console.particle.io. New accounts land on a dashboard with a left sidebar listing Devices, Products, Integrations, and Billing. If you’re joining an existing team, accept the email invite first so you inherit the right org scope.
Claim Your Device
Power the device, put it in listening mode (hold MODE until the LED blinks blue), and use the Particle mobile app or particle serial setup CLI to claim it to your account. Once claimed, the device appears in the Console’s Devices tab with its Device ID, ICCID (for cellular), and current firmware version.
Create a Product (Optional but Recommended)
For fleets of two or more devices, click Products → New Product, pick a name and device family. Move your claimed devices into the product so they inherit product firmware and integrations rather than per-device settings.
Stream Events & Read Variables
Open any device page to see a live event stream. Register a Particle.variable() in firmware (e.g., Particle.variable("temp", tempC)), flash the device, and the variable appears under the device’s Vitals tab, readable from the Console without re-flashing.
Push an OTA Firmware Update
Compile your binary with particle compile boron myapp.ino (or use Workbench). In the product’s Firmware tab, upload the .bin, give it a version number, and click Release. Devices download it on their next cloud check-in, typically under a minute for cellular, faster on Wi-Fi.
Set Up an Integration
Go to Integrations → New Integration, pick Webhook or a cloud partner (AWS, Azure, GCP), enter the target URL/topic, and bind it to an event name. Publish that event from firmware and watch it arrive in your backend within seconds.
Monitor Diagnostics & Roll Back
When a device shows a red vitals indicator, open its diagnostics tab to inspect signal, battery, and disconnect history. If a firmware release causes regressions, open the product’s Firmware tab and promote a previous version, the Console handles the downgrade fleet-wide.
The Console itself is free, you’re paying for the underlying Particle Platform connectivity and data. Pricing is structured around three platform tiers, each of which opens up more devices, more data operations, and more advanced Console features. Cellular devices also include or require a Particle SIM with a separate data allowance.
| Tier | Best For | Devices | Data Ops / Month | Key Console Features | Starting Price |
|---|---|---|---|---|---|
| Free | Hobbyists & prototyping | Up to 100 | 100K | Device claiming, event stream, OTA, basic integrations | $0 |
| Basic | Small commercial deployments | Up to 1,000 | 1M | Everything in Free + product firmware targeting, team roles, webhooks | ~$30/mo per active cellular block + SIM data |
| Pro | Enterprise & scaled fleets | Unlimited | Custom | Everything in Basic + SSO, audit logs, dedicated support, SIM management at scale | Custom, contact Particle sales |
Cellular data is billed on top of the platform tier: Particle’s SIMs include a small monthly data allowance (e.g., 1 to 5 MB) and charge per-MB overages, with bulk pooling available on Pro. Wi-Fi-only devices (Photon 2, Argon) consume platform data operations but no cellular data, so they’re effectively free to operate beyond the tier’s data-op quota.
The Particle Console isn’t the only device-management dashboard. The right choice depends on whether you want a turnkey, hardware-coupled platform (Particle) or a multi-vendor, bring-your-own-connectivity stack (AWS IoT Core + partners, Losant, Blynk).
| Capability | Particle Console | AWS IoT Core + Device Mgmt | Losant | Blynk |
|---|---|---|---|---|
| Hardware + cloud bundled | Yes, own hardware | BYO hardware | BYO hardware | ️ Partial (partner devices) |
| Built-in cellular SIM | Global Particle SIM | BYO carrier | BYO carrier | BYO carrier |
| OTA firmware updates | First-class, one-click releases | ️ Via Jobs / FreeRTOS OTA | Not native | Supported |
| Real-time event stream | Built into Console | ️ Via IoT Rules + Kinesis | Via workflows | Via app widgets |
| Visual dashboard / widgets | ️ Basic device pages | Use QuickSight / Grafana | Strong drag-and-drop | Mobile-first builder |
| Cloud integrations | AWS, Azure, GCP, webhooks | Native AWS ecosystem | Broad connector library | ️ Webhooks + REST |
| Pricing model | Per-device tier + cellular data | Per-message + per-cert | Per-device flat | Per-device + energy credits |
| Learning curve | Low, guided onboarding | High, AWS-native complexity | Medium | Low for simple apps |
The fastest path from zero to a managed fleet is surprisingly short:
Sign up free
Create a free Particle account at console.particle.io. No credit card, up to 100 devices and 100K data ops/month included.
Get a device
Order a Boron (cellular) or Photon 2 (Wi-Fi) starter kit from the Particle store, or use the simulator in Workbench if you’re evaluating before buying.
Claim & flash
Use the mobile app or CLI to claim the device, then flash the default Tinker app to confirm the Console can see it and read its variables.
Build & ship
Write your firmware in the Web IDE or VS Code Workbench, create a product, and push your first OTA release. From here, scaling is a Console setting, not a re-architecture.
Dev Station works with teams across the United States and the United Kingdom. Device and telemetry data stays in your own cloud tenant, in the region your policy requires. Where a client needs SOC 2, HIPAA or UK GDPR evidence, we build the technical controls those frameworks ask for and work alongside the assessor who issues the certificate. Our engineers work from Vietnam with overlap into US Eastern, US Pacific and UK GMT hours, and we invoice in USD or GBP.
Want an AI assistant to summarize or cite this guide?
Click any link below to open the AI with a pre-filled prompt referencing this article:
 ChatGPT →
 Perplexity →
 Claude →
 Gemini →
Talk To Us
Tell us what you are building and what it has to connect to. An engineer answers, and you get a straight view of what the work would take.
Get In Touch →